Greenhouse assembly is an essential process for creating a controlled environment for plant growth․ Proper assembly ensures durability and optimal performance, supporting healthy plant development year-round․
1․1 Understanding the Basics of Greenhouse Assembly
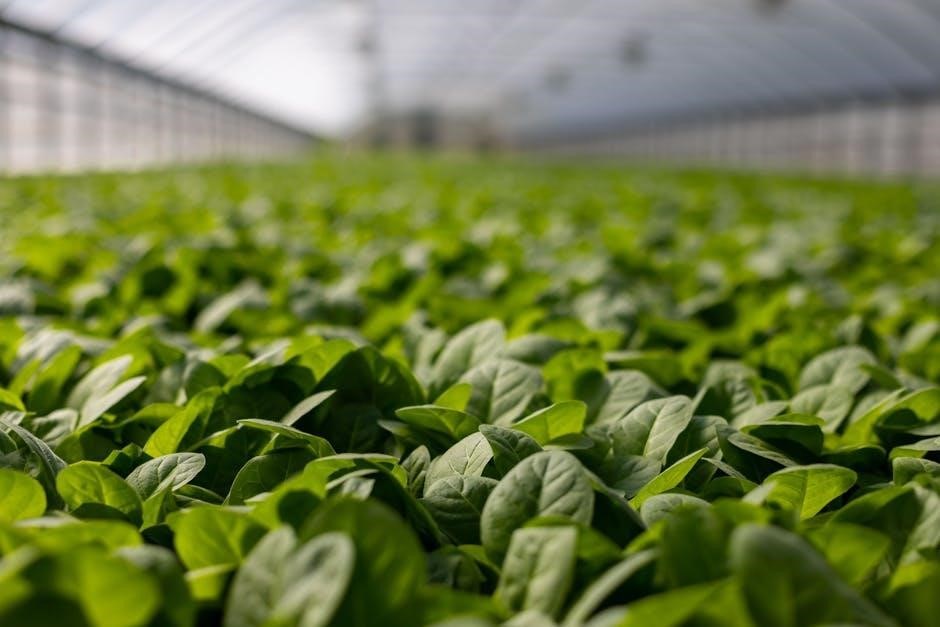
Greenhouse assembly involves constructing a structure to create a controlled environment for plant growth․ It typically includes a frame, panels, and features like doors and windows for ventilation․ The process requires basic tools and materials, such as screws, brackets, and polycarbonate or glass panels․ Understanding the components and their roles is crucial for successful assembly․ A level base is essential to ensure stability, and weatherproofing is necessary to prevent leaks․ Assembly instructions usually provide a step-by-step guide, emphasizing proper alignment and secure fastening․ DIY kits are designed to be user-friendly, but attention to detail is key for long-term durability and functionality․ Start by familiarizing yourself with the parts and tools to ensure a smooth process․

1․2 Importance of Following Assembly Instructions
Following assembly instructions is crucial for ensuring the structural integrity and functionality of your greenhouse․ Proper assembly guarantees a stable and durable structure, while deviations can lead to issues like leaks, misalignment, or weakened frames․ Instructions are designed to address potential challenges, such as weatherproofing and securing panels, which are vital for withstanding environmental conditions․ Additionally, adhering to guidelines ensures safety, optimal ventilation, and energy efficiency․ Many manufacturers provide detailed step-by-step guides tailored to their kits, making it essential to follow them closely․ Neglecting instructions can void warranties or compromise the greenhouse’s performance․ By following the provided directions, you can achieve a professional-quality assembly and enjoy long-term benefits for your plants․
Planning and Preparation
Planning and preparation are crucial for a successful greenhouse assembly․ Choose a suitable location, gather necessary tools, and prepare materials to ensure a smooth process․
2․1 Choosing the Right Location for Your Greenhouse
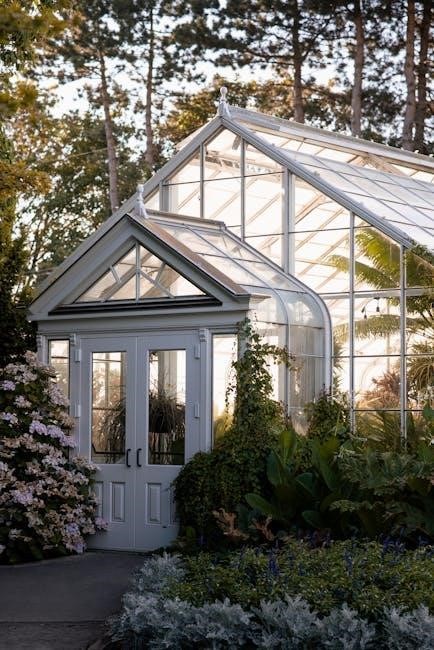
Selecting the ideal location for your greenhouse is vital for its efficiency․ Ensure it receives ample sunlight, ideally south-facing, and is level to prevent water pooling․ Avoid shaded areas to maximize natural light․ Consider proximity to water sources and electrical outlets for convenience․ The location should also be accessible year-round for maintenance․ Additionally, check local building codes and regulations․ Proper positioning enhances plant growth and overall performance, making it a key step in successful greenhouse assembly․
2․2 Tools and Materials Needed for Assembly
Assembling a greenhouse requires specific tools and materials to ensure a smooth process․ Essential tools include a screwdriver, wrench, hammer, measuring tape, and utility knife․ Materials like polycarbonate panels, aluminum or steel frames, rubber seals, and screws are crucial․ Additionally, gloves and safety goggles are recommended for protection․ Ensure all parts from the kit are inventoried to avoid missing items․ Having a ladder or step stool may be necessary for reaching higher sections․ Properly gathering and organizing these tools and materials beforehand will streamline the assembly process and help prevent delays or complications․
Step-by-Step Assembly Guide
This guide provides a detailed, structured approach to assembling your greenhouse, covering frame construction, panel installation, and final adjustments for a sturdy, functional, and weather-tight structure․

3․1 Frame Assembly: Constructing the Base and Walls
Begin by gathering all frame components, tools, and hardware․ Lay out the base frame on a level surface, ensuring all corners are square․ Secure the base using anchor kits or ground screws for stability․ Attach wall panels to the base frame, aligning pre-drilled holes․ Use a drill and screws to fasten the walls securely․ Ensure the frame is plumb and tighten all connections firmly․ Follow the manufacturer’s instructions for specific bracket placements․ Double-check the alignment to prevent gaps or misfits․ Properly assembling the base and walls is crucial for the structural integrity of the greenhouse, providing a solid foundation for the roof and panels․
3․2 Panel Installation: Attaching Polycarbonate or Glass Panels
After assembling the frame, prepare the polycarbonate or glass panels according to the manufacturer’s specifications․ Begin by aligning the panels with the frame, ensuring they fit snugly into the pre-designed channels․ Secure the panels using provided hardware, such as clips or screws, tightening them evenly to avoid warping․ For polycarbonate panels, use rubber seals to prevent gaps and ensure a weather-tight fit․ Glass panels may require additional support, such as glazing clips, to hold them firmly in place․ Double-check all panels for proper alignment and tightness to ensure structural integrity and energy efficiency․ Follow safety guidelines when handling glass to avoid breakage․
3․3 Roof Assembly: Securing the Top Structure
The roof assembly is a critical step in greenhouse construction, providing protection from weather conditions and ensuring structural stability․ Begin by attaching the roof rafters to the frame, aligning them according to the manufacturer’s diagram․ Secure the rafters using bolts or screws, tightening firmly to prevent movement․ Next, install the roof panels or polycarbonate sheets, ensuring they fit snugly between the rafters․ Use rubber seals or clips to avoid gaps and ensure a watertight seal․ For added stability, attach crossbeams to support the roof structure․ Finally, inspect the roof for any gaps or loose connections and address them immediately to ensure durability and weather resistance․ Always follow safety precautions when working at heights․
3․4 Door and Window Installation: Ensuring Proper Ventilation
Installing doors and windows is essential for maintaining proper ventilation in your greenhouse․ Begin by attaching the door frame to the base structure, ensuring it is level and securely fastened with hinges․ Install the door, making sure it opens smoothly and closes tightly to prevent air leaks․ For windows, follow the manufacturer’s instructions to mount them in the designated areas․ Use weatherstripping to seal any gaps around the edges․ Regularly inspect doors and windows to ensure they function properly and provide adequate airflow․ Proper ventilation helps regulate temperature, preventing overheating and promoting healthy plant growth․ Always refer to the assembly manual for specific guidance․

Maintenance and Care
Regular maintenance ensures your greenhouse remains durable and functional․ Clean panels, inspect frames, and repair any damage promptly to maintain optimal growing conditions for your plants․
4․1 Tips for Long-Term Durability of the Greenhouse
To ensure your greenhouse remains durable, regular maintenance is crucial․ Clean polycarbonate or glass panels periodically to maintain light transparency and prevent algae growth․ Inspect the frame for rust or damage and apply protective coatings if necessary․ Secure all joints and connections to withstand harsh weather conditions․ Check for any gaps or leaks in the panels and seal them promptly․ Additionally, trim nearby plants to avoid overgrowth that could damage the structure․ Regularly inspect roofing and sidewalls for wear and tear, and replace damaged sections as needed․ By following these tips, you can extend the lifespan of your greenhouse and ensure optimal growing conditions for your plants․
4․2 Regular Inspections and Repairs
Regular inspections are vital to maintain the integrity of your greenhouse․ Check the frame for alignment issues and ensure all bolts and screws are securely tightened․ Inspect polycarbonate or glass panels for gaps or cracks, as these can lead to leaks and reduced insulation․ Address any wear and tear promptly to prevent minor issues from becoming major problems․ Replace damaged panels or seals as needed to maintain optimal growing conditions․ Additionally, monitor the roof for sagging or unevenness, which can affect water runoff and structural stability․ Performing routine checks and repairs ensures your greenhouse remains safe, functional, and conducive to plant growth over the long term․

Troubleshooting Common Assembly Issues
Common assembly issues include frame misalignment, panel leaks, and hardware gaps․ Regular inspections help identify these problems early․ Use adjustment tools and resealants for quick fixes․ Ensure all parts are included and tighten loose connections for stability․
5․1 Identifying and Solving Frame Alignment Problems
Frame alignment issues are common during greenhouse assembly․ To identify misalignment, check for uneven surfaces or gaps between frame sections; Use a level tool to ensure all parts are perfectly aligned․ If misaligned, loosen the bolts slightly and adjust the frame carefully․ Tighten the bolts once proper alignment is achieved․ For severe misalignment, disassemble the problematic section and reassemble it following the instructions․ Ensure all corners are square and use shims if necessary to level the base․ Regular inspections can help catch alignment problems early, preventing structural damage․ Proper alignment is crucial for the greenhouse’s stability and performance, so take your time during this step․
5․2 Addressing Leaks or Gaps in Panels
Leaks or gaps in polycarbonate or glass panels can compromise the greenhouse’s insulation and structural integrity․ To address this, inspect the panels for any misaligned edges or improper sealing․ Apply a bead of weatherproof sealant, such as silicone, along the gaps to ensure a tight fit․ If panels are loose, check the fasteners and tighten them securely; For larger gaps, consider using rubber seals or gaskets to fill the space․ Regularly inspect the panels for signs of wear or damage and replace them if necessary․ Proper sealing is essential to maintain optimal growing conditions and prevent heat loss․ Addressing these issues promptly ensures long-term functionality and energy efficiency․ Always refer to the manufacturer’s guidelines for specific sealing solutions․