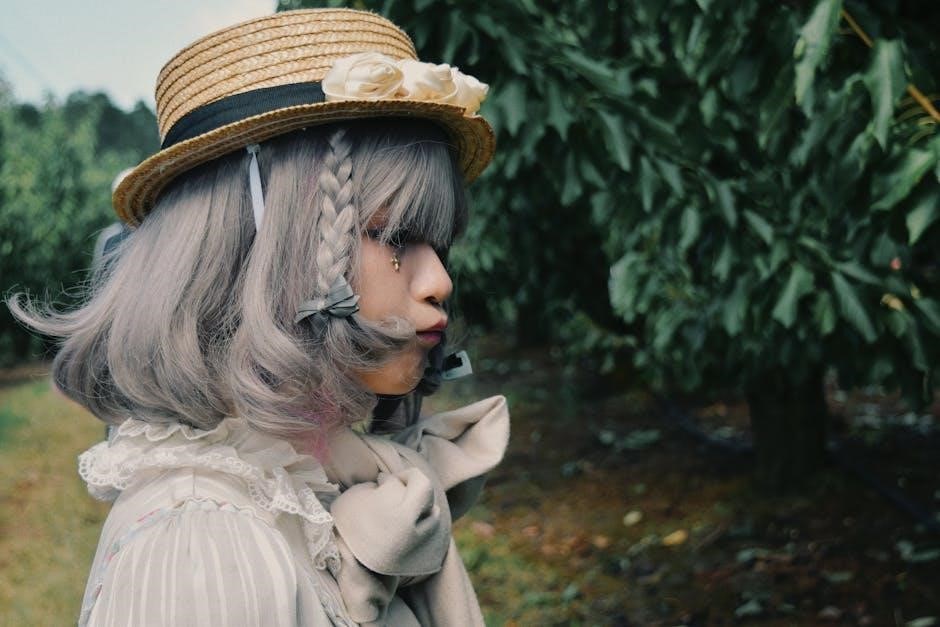
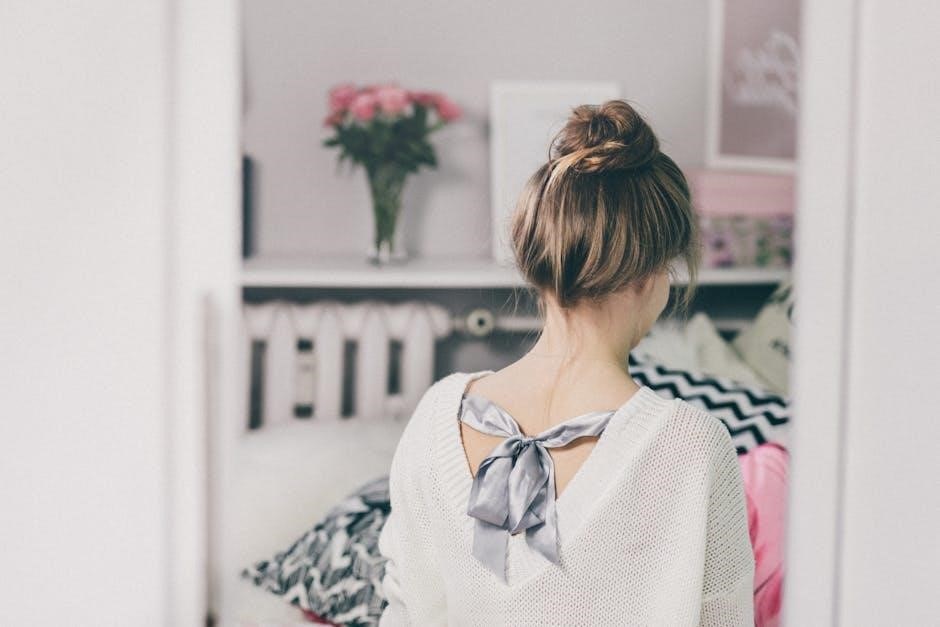
Ribbon hair bows are a popular and versatile hair accessory, offering a charming touch to any hairstyle. They can be simple or elaborate, making them ideal for various occasions. These bows allow for creativity and personal style, enabling customization to suit different looks. Whether made from satin, grosgrain, or other materials, ribbon hair bows are both functional and fashionable. Mastering the techniques to create them opens up endless possibilities for unique designs.
What Are Ribbon Hair Bows?
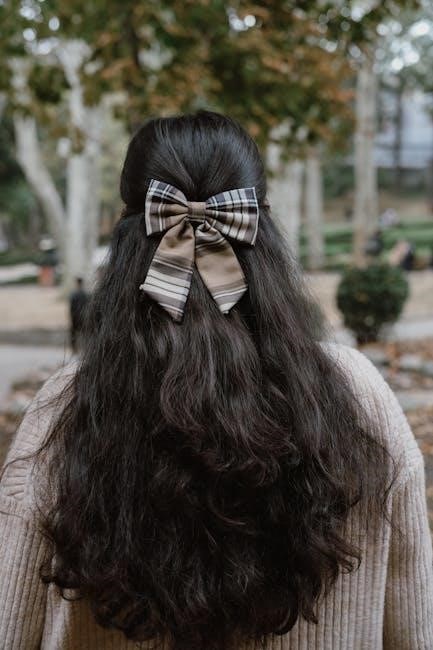
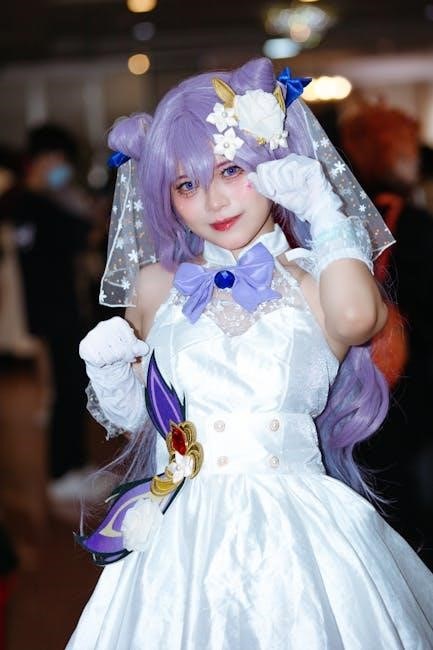
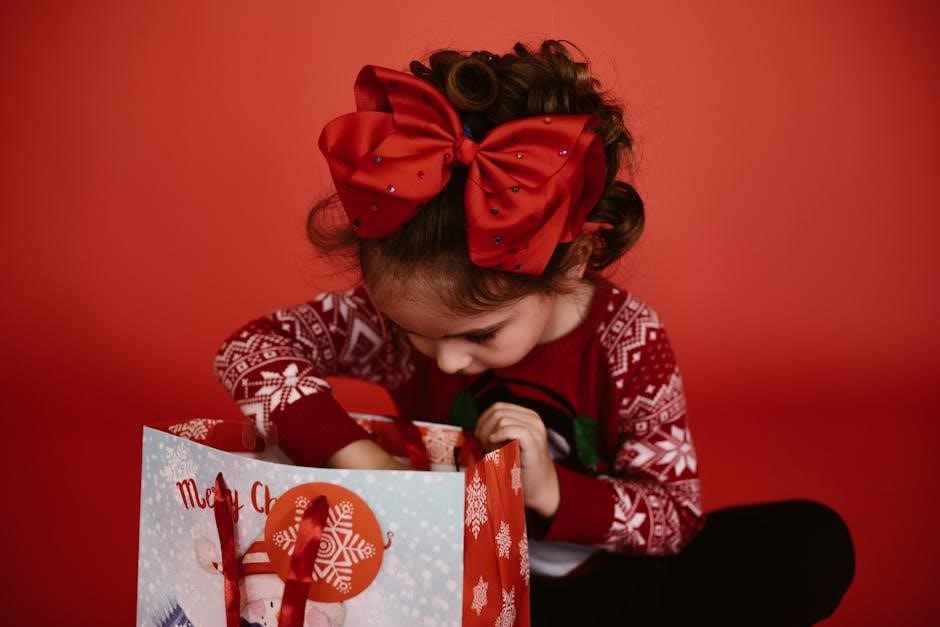
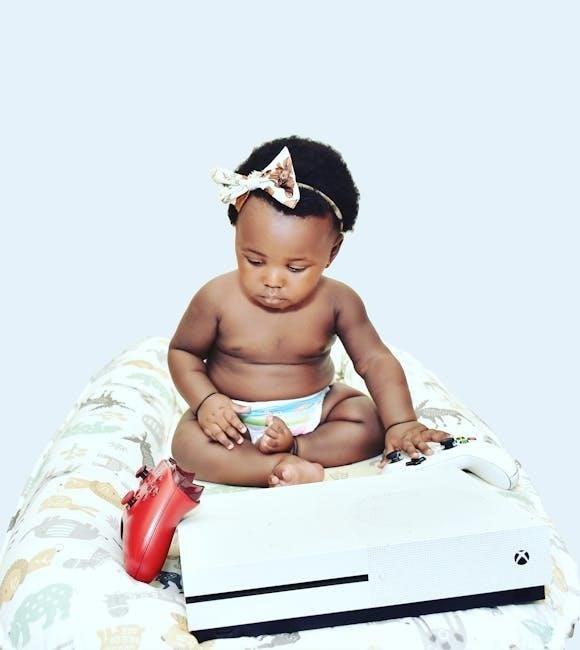
Ribbon hair bows are decorative accessories made from ribbons, designed to enhance hairstyles or accessories. They are typically fashioned into bow shapes and can vary in size, style, and complexity. These bows are crafted using various types of ribbons, such as satin, grosgrain, or silk, and can be customized with embellishments like rhinestones or fabric flowers. Ribbon hair bows are often used to add a touch of elegance or whimsy to outfits, making them suitable for special occasions, everyday wear, or as gifts. They can be attached to hair clips, headbands, or barrettes, offering versatility in how they are worn. Whether simple or intricate, ribbon hair bows are a creative way to personalize one’s style and express individuality through handmade or store-bought designs.
Why Ribbon Hair Bows Are Popular
Ribbon hair bows have gained significant popularity due to their versatility and aesthetic appeal. They are a timeless accessory that complements various hairstyles, making them suitable for both casual and formal events. The ability to customize ribbon hair bows with different colors, patterns, and embellishments allows individuals to match them with their outfits or personal style. Additionally, these bows are easy to incorporate into everyday looks, offering a quick and stylish way to elevate an appearance. Their appeal spans across age groups, from children to adults, as they can be designed to suit different preferences. The rise of DIY tutorials and crafting communities has further fueled their popularity, empowering people to create their own unique designs. As a result, ribbon hair bows remain a beloved and trendy accessory for many.
Materials Needed for Making Ribbon Hair Bows
To create ribbon hair bows, essential materials include high-quality ribbon, sharp scissors, and a glue gun or needle with thread. Optional items like beads or hair clips can enhance the design.
Essential Supplies
To begin making ribbon hair bows, you’ll need a few basic supplies. The primary material is high-quality ribbon, available in various textures like satin, grosgrain, or velvet. Choose a ribbon that suits your desired style and durability. Sharp scissors are essential for cutting the ribbon cleanly and accurately. A measuring tape or ruler will help you achieve precise measurements for consistent loops and tails. A glue gun or a needle and thread are necessary for securing the bow’s structure, ensuring it holds together firmly. Additionally, wire or a hair clip is often used to attach the bow to the hair. These supplies form the foundation for crafting a beautiful and long-lasting ribbon hair bow, allowing you to bring your creative vision to life.
Optional Decorative Items
While essential supplies are necessary, optional decorative items can elevate your ribbon hair bow, adding a personal touch. Consider using rhinestones, pearls, or sequins for a glamorous look. Embellishments like embroidery floss, appliques, or small bows can also enhance the design. For a more intricate appearance, layering different textures or patterns of ribbon is a popular choice. Additionally, beads or small flowers can be incorporated to create a unique and eye-catching accessory. Hot glue guns are often used to securely attach these decorative elements. Experimenting with these optional items allows you to customize the bow to match specific occasions or personal styles, making each creation truly one-of-a-kind. These embellishments not only add visual interest but also reflect the creator’s creativity and flair.
Basic Techniques for Creating Ribbon Hair Bows
Mastering basic techniques like measuring, cutting, and shaping ribbons is essential. Forming loops and securing them with glue or stitching ensures a professional finish. These foundational steps create a polished bow.

Measuring and Cutting the Ribbon
Measuring and cutting the ribbon accurately is the first step in creating a ribbon hair bow. Start by determining the length of ribbon needed, which varies depending on the size of the bow. For a standard bow, cut two long strips of ribbon; these can be the same size or slightly different for a layered effect. Additionally, cut one longer strip for the tails of the bow. Use a measuring tape or ruler to ensure precision, and cut the ribbon cleanly with sharp scissors or craft knives. Adjust the length based on the desired fullness and style of the bow. Proper measuring and cutting set the foundation for a well-shaped and balanced hair bow, making this step crucial for achieving professional results.
Forming Loops and Shaping the Bow
Forming loops and shaping the bow is where creativity meets technique. Begin by creating the first loop, folding the ribbon upward from the backside toward the center. Repeat this process to form multiple loops, ensuring they are evenly spaced and aligned. For a fuller bow, layer additional loops or use multiple ribbons of varying colors and textures. Each loop should be gently pulled to create a natural curve, avoiding tight folds that can make the bow look stiff. Once all loops are formed, bring the ribbon ends together at the center to secure the bow’s shape. This step requires patience, as properly shaped loops and balanced layers are key to achieving a professional and elegant appearance. Adjustments can be made by gently tugging the loops until the desired shape is achieved.
Securing the Bow with Glue or Stitching
Securing the bow with glue or stitching is essential to ensure durability and a professional finish. For a quick and strong hold, hot glue is ideal. Apply a small amount of glue to the center of the bow, where the loops meet, and press the ends of the ribbon firmly together. Allow the glue to cool and harden completely before handling the bow. For a more permanent and flexible bond, stitching can be used. Thread a needle with matching thread and sew through the center of the bow, weaving in and out of the loops to secure them in place. This method is particularly effective for thicker ribbons or for bows that will be worn frequently. Whichever method you choose, ensure the bow is tightly secured to withstand regular use without coming undone.
Step-by-Step Guide to Making a Ribbon Hair Bow
Measure and cut the ribbon, fold it to form loops, and secure the center with glue or stitching. This method creates a neat, professional-looking bow for hair accessories.
From Cutting to Finishing Touches
Begin by cutting two long strips of ribbon for the bow and one for the tails. Fold the ribbon to create loops, ensuring they are of equal size. Secure the center with glue or stitching to hold the loops in place. For a cleaner look, trim the ends at an angle. Attach the tails by tying or gluing them to the back of the bow. Finally, fluff the loops gently to achieve a full, even appearance. This step-by-step process ensures a professional finish, making the bow ready to be worn or attached to a hair clip, providing a stylish accessory for any occasion.

Advanced Techniques for Customizing Ribbon Hair Bows
Layer ribbons for volume, add embellishments like beads or gems, and experiment with textures or patterns to create unique, personalized designs that elevate your ribbon hair bow.
Layering Ribbons for a Fuller Bow
Layering ribbons is an excellent way to add volume and depth to your hair bow. Start by cutting multiple strips of ribbon in varying widths or patterns. Stack these strips together, aligning their edges carefully. For a balanced look, use a central ribbon as the base and add layers around it. Secure each layer with a pinch or a small dot of glue at the center. To ensure the bow remains fuller, make sure each loop is slightly larger than the one beneath it. This technique creates a visually appealing, multi-dimensional effect. Experiment with different textures and colors to enhance the overall design, making your ribbon hair bow stand out with a professional finish.
Adding Embellishments
Embellishments can elevate a simple ribbon hair bow into a stunning accessory. Consider adding beads, rhinestones, or pearls for a touch of elegance. Use a small dab of glue or a needle and thread to secure these decorations. For a more intricate look, incorporate sequins or appliques, ensuring they are centered and evenly spaced. A well-placed charm or brooch can also add a unique flair. Experiment with different materials and placement to create a personalized design. When adding embellishments, balance is key—avoid overcrowding the bow. These details enhance the overall aesthetic, making the bow more eye-catching and tailored to your style or occasion.
Tips and Tricks
Mastering ribbon hair bows requires patience and practice. Use high-quality ribbons for durability and a polished look. Experiment with layering and embellishments to add uniqueness. Always measure twice, cut once.
Troubleshooting Common Mistakes
When creating ribbon hair bows, common issues include uneven loops, loose knots, or excessive glue. To fix uneven loops, adjust the ribbon symmetry during formation. For loose knots, tighten gently or secure with a pin. Excess glue can be removed with a damp cloth. Additionally, if the bow appears flat, fluff the loops to restore volume. Ensuring accurate measurements and consistent tension while tying prevents many mistakes. Using the right tools, like sharp scissors, helps maintain clean cuts. Avoiding overly thick ribbons unless appropriate for the design prevents bulky bows. Regularly inspecting the bow during construction allows for early corrections, saving time and materials. Patience and attention to detail are key to achieving professional results.
Customizing Your Ribbon Hair Bow
Customizing your ribbon hair bow allows for a unique touch, making it stand out. Start by choosing ribbons in various colors and patterns to match your style or occasion. Layering different textures, such as satin and grosgrain, adds depth and dimension. Embellishments like rhinestones, pearls, or bows can be added for a glamorous finish. Experiment with bow sizes, from small and delicate to large and bold, depending on your preference. Adding a clip or elastic band makes the bow wearable; For a personalized look, incorporate themed ribbons or seasonal motifs, such as holiday patterns. Mixing and matching these elements creates a one-of-a-kind accessory that reflects your personality. Don’t be afraid to explore different combinations to find the perfect design that suits your taste and complements your hairstyle or outfit.